
Post-Injury and Surgical Recovery: Using Medical Dog Booties, Elastic Wraps, and Calm Support
Post-Injury and Surgical Recovery: Using Medical Dog Booties, Elastic Wraps, and Calm Support
Clean, dry, and calm: those three words define an ideal recovery after surgery or injury. Yet day-to-day life makes that hard—especially when bandages get damp, debris sneaks in, and licking starts. The solution is a precise, veterinarian-informed routine.
This post delivers a practical protocol for keeping dressings clean, blocking self-trauma, and protecting incisions with medical booties and elastic wraps. You will also find anxiety-wrap techniques for calmer recoveries and step-by-step templates for short walks, hygiene, and milestone checks.
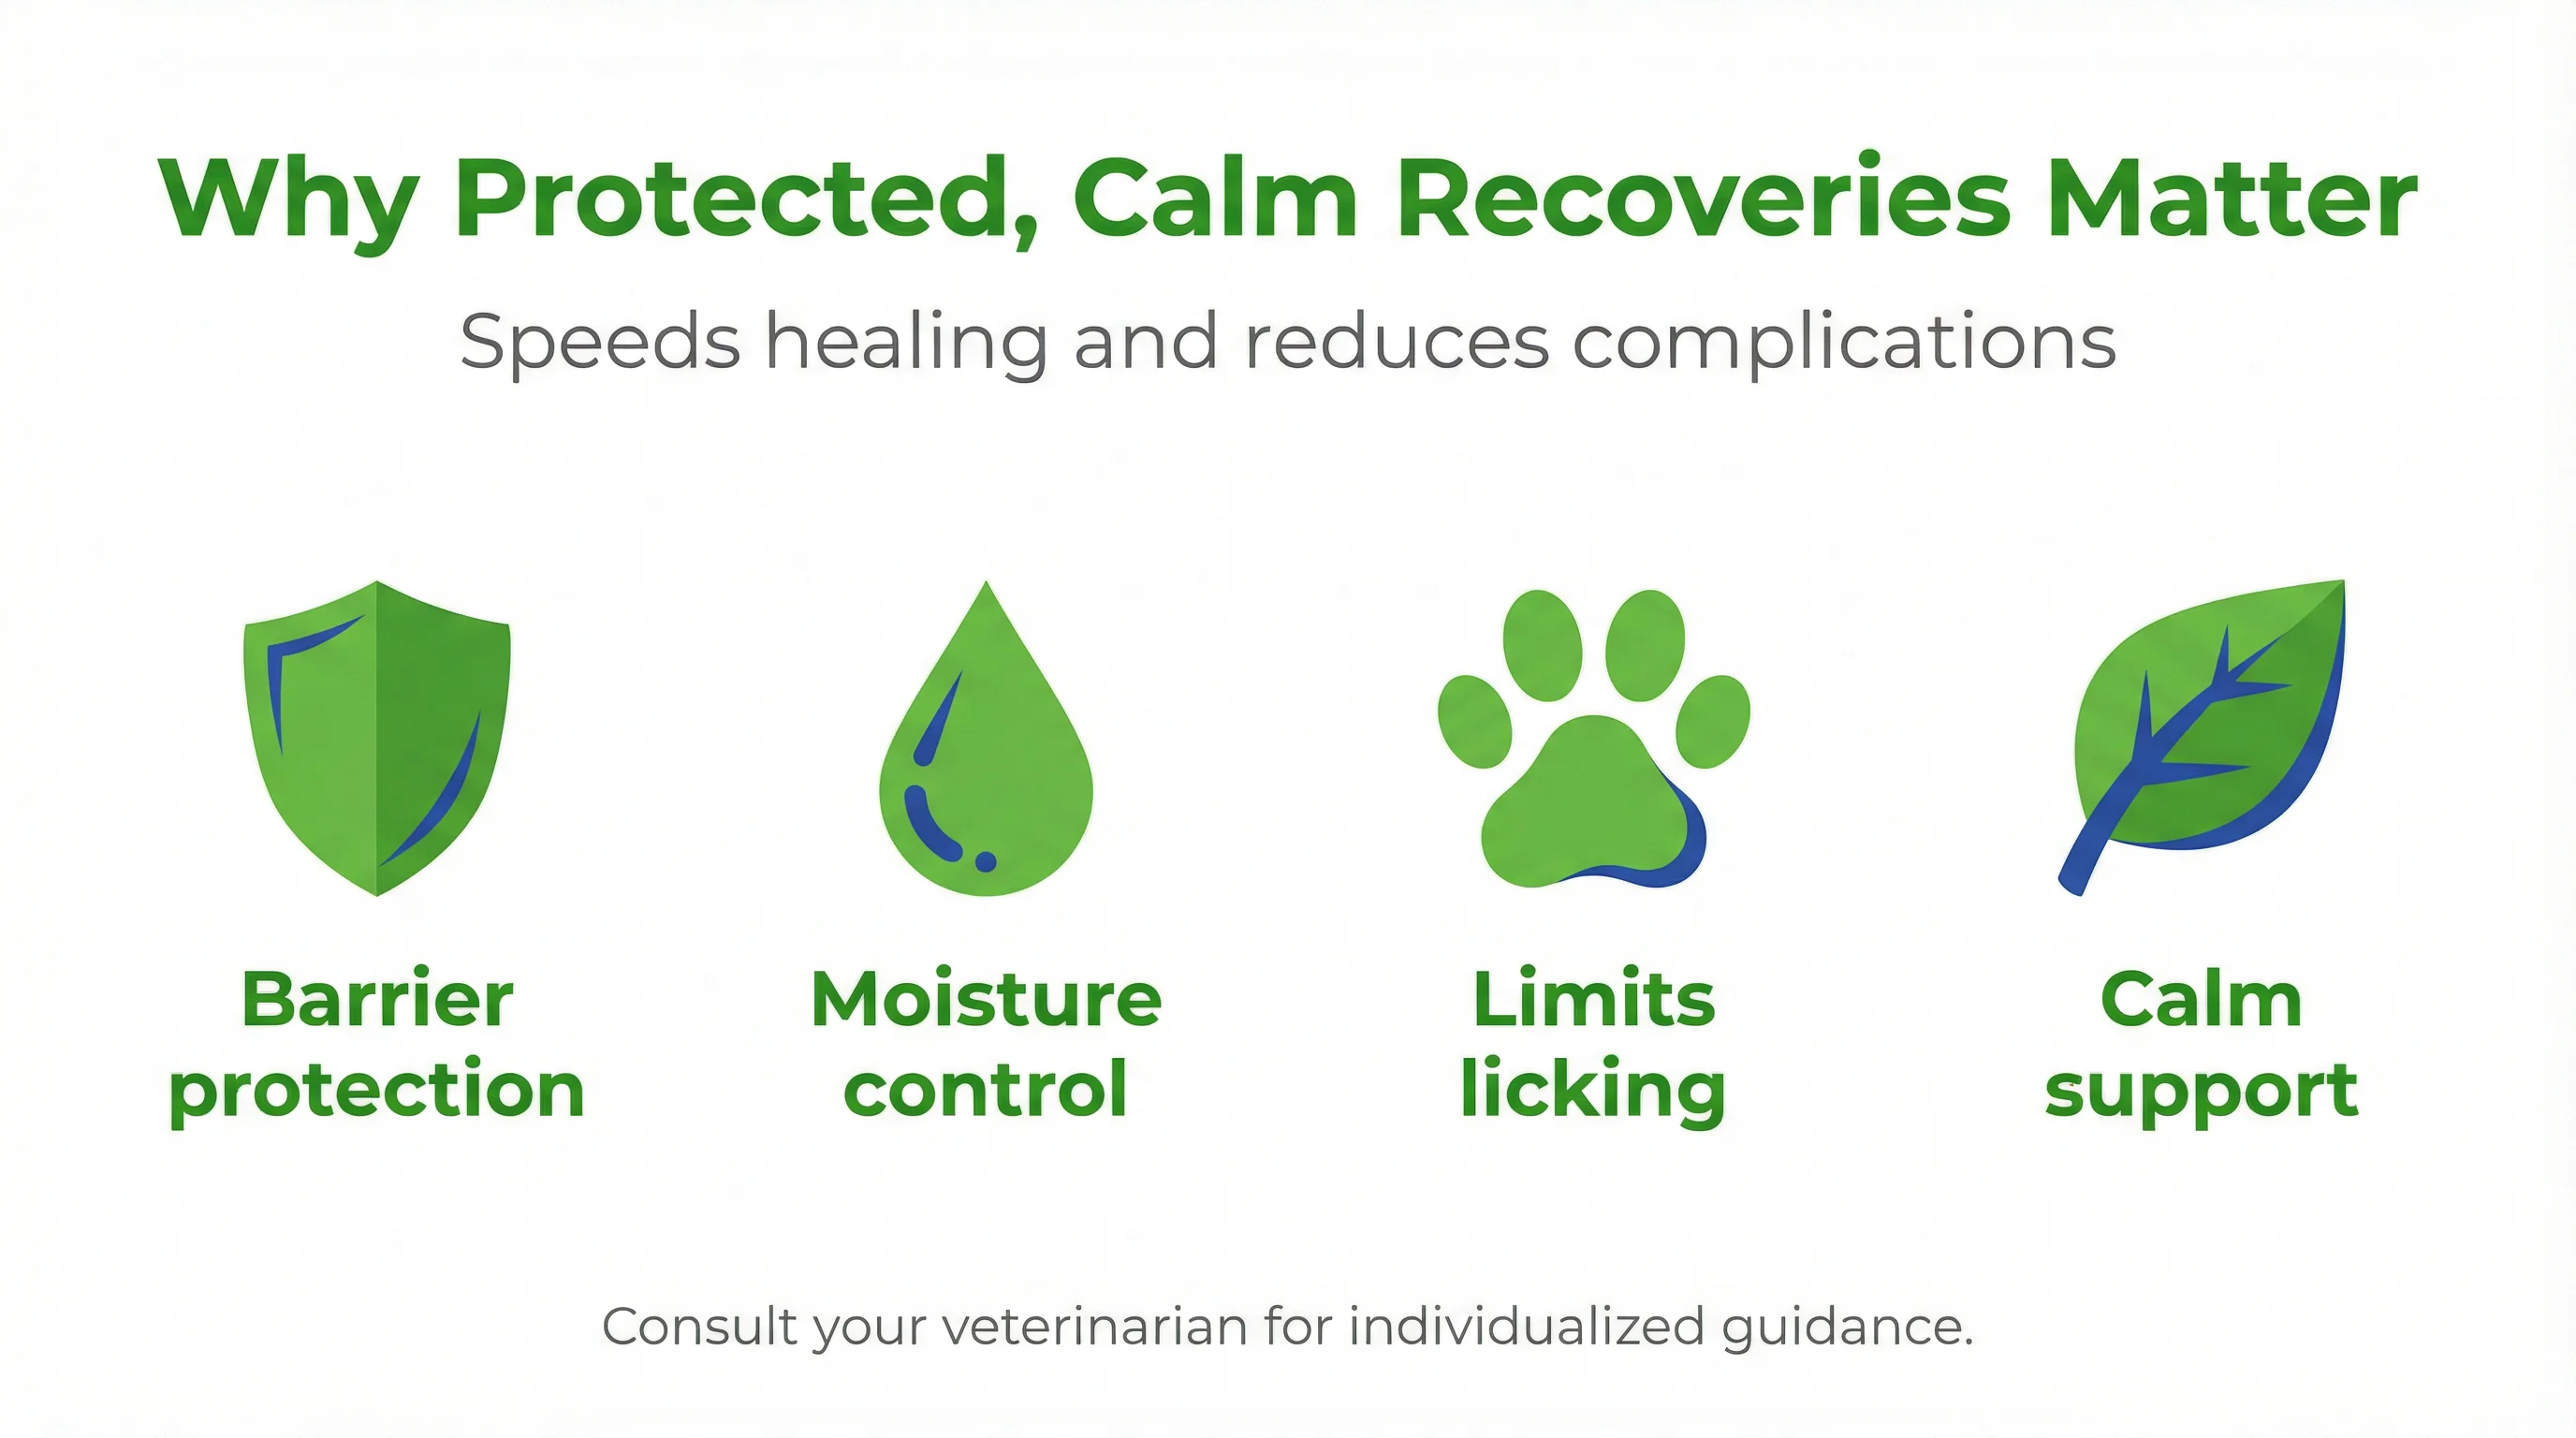
Why Protected, Calm Recoveries Matter After Injury or Surgery
Incisions and paw wounds heal fastest when protected from moisture, contamination, and repetitive licking. A combined approach—secure coverings plus calm support—reduces complications, improves comfort, and keeps rehabilitation on track.
Common complications booties and wraps help prevent
Medical dog booties and elastic wraps create a barrier against dirt, moisture, and abrasion. They limit wound disruption from scratching or floor slip and improve traction on tile or wood floors. When fitted correctly, they also discourage licking and chewing, reducing infection risk.[2]
- Wet bandages causing maceration
- Contamination leading to infection
- Incision trauma from slipping or overuse
How calm support reduces stress‑related setbacks
Stress elevates arousal, fuels licking, and disrupts rest cycles. Gentle compression and predictable routines help lower reactivity, improving compliance with dressings and activity restrictions. Calmer patients show better tolerance for controlled, early rehabilitation and home handling.[4]
Choosing the Right Protection: Medical Booties vs. Everyday Paw Boots
Not all paw coverings are equal. For incisions, bandages, and dog wound care, use purpose-built medical designs; reserve everyday paw protection boots for clean, dry outdoor conditions.
Key features of medical dog booties for incisions and bandages
Look for a non-slip sole, a soft interior that accommodates non-stick pads, and adjustable closures that distribute pressure evenly. A breathable, washable upper reduces moisture buildup, while a tall cuff keeps debris out during brief outings. Many pet owners find Healers Medical Dog Booties helpful for this task.
When to use everyday paw protection outdoors
Everyday paw protection boots are ideal for short, clean-surface walks on dry days when the goal is traction and minor debris control, not medical coverage. For route planning and weather specifics, see the outdoor paw protection guide to align medical goals with safe surfaces and timing.
Step-by-Step: Keeping Bandages Clean and Dry
Consistent hygiene protects healing tissue. The routine below emphasizes daily inspection, moisture control, and correct layering using gauze, an elastic leg bandage for dogs, and an exterior boot.
Daily check routine and moisture control
Check the dressing each morning and evening for dampness, odor, or slippage. If damp, replace immediately; wet layers rapidly soften skin and invite infection.[2] Before re-dressing, follow Paw pad wound care and HOCl cleaning steps to flush debris and reduce bioburden safely. Keep indoor floors dry and limit time on wet grass or snow.
Layering: gauze, elastic wrap, and bootie order of operations
- Clean: Irrigate the site per your vet’s plan, then pat surrounding fur dry.
- Pad: Place a non-stick gauze over the incision; add absorbent roll if needed.
- Wrap: Apply an elastic leg bandage for dogs with light, even tension; avoid wrinkles.
- Cover: Add the bootie, centering the paw and securing closures without pinching.
- Test: Check capillary refill and toe warmth after five minutes; adjust if needed.
For short walks, canine recovery boots protect the exterior; replace any damp layers promptly on return.
Preventing Licking and Chewing Without the Cone
Some dogs ignore cones, while others escalate stress. Calming strategies paired with physical barriers reduce licking behaviors humanely and consistently.
Anxiety‑wrap techniques for calmer recovery
Use an anxiety wrap for dogs that applies gentle, even pressure across the chest and torso. Fit it snugly yet breathable, and introduce it during quiet times. Pair the wrap with scent enrichment and low-arousal chew toys to redirect focus, then praise relaxed behavior.
Tip: Calm first, cover second. Lower arousal before dressing changes to reduce resistance and licking afterward.
Itch triggers to manage: Link to Allergies and hot spots management to reduce licking
Address pruritus proactively. Dry air, contact irritants, and seasonal allergens can intensify scratching and nibbling around dressings. Coordinate topical therapies with your veterinarian and review Allergies and hot spots management to reduce licking to break the itch–lick cycle while the incision heals.
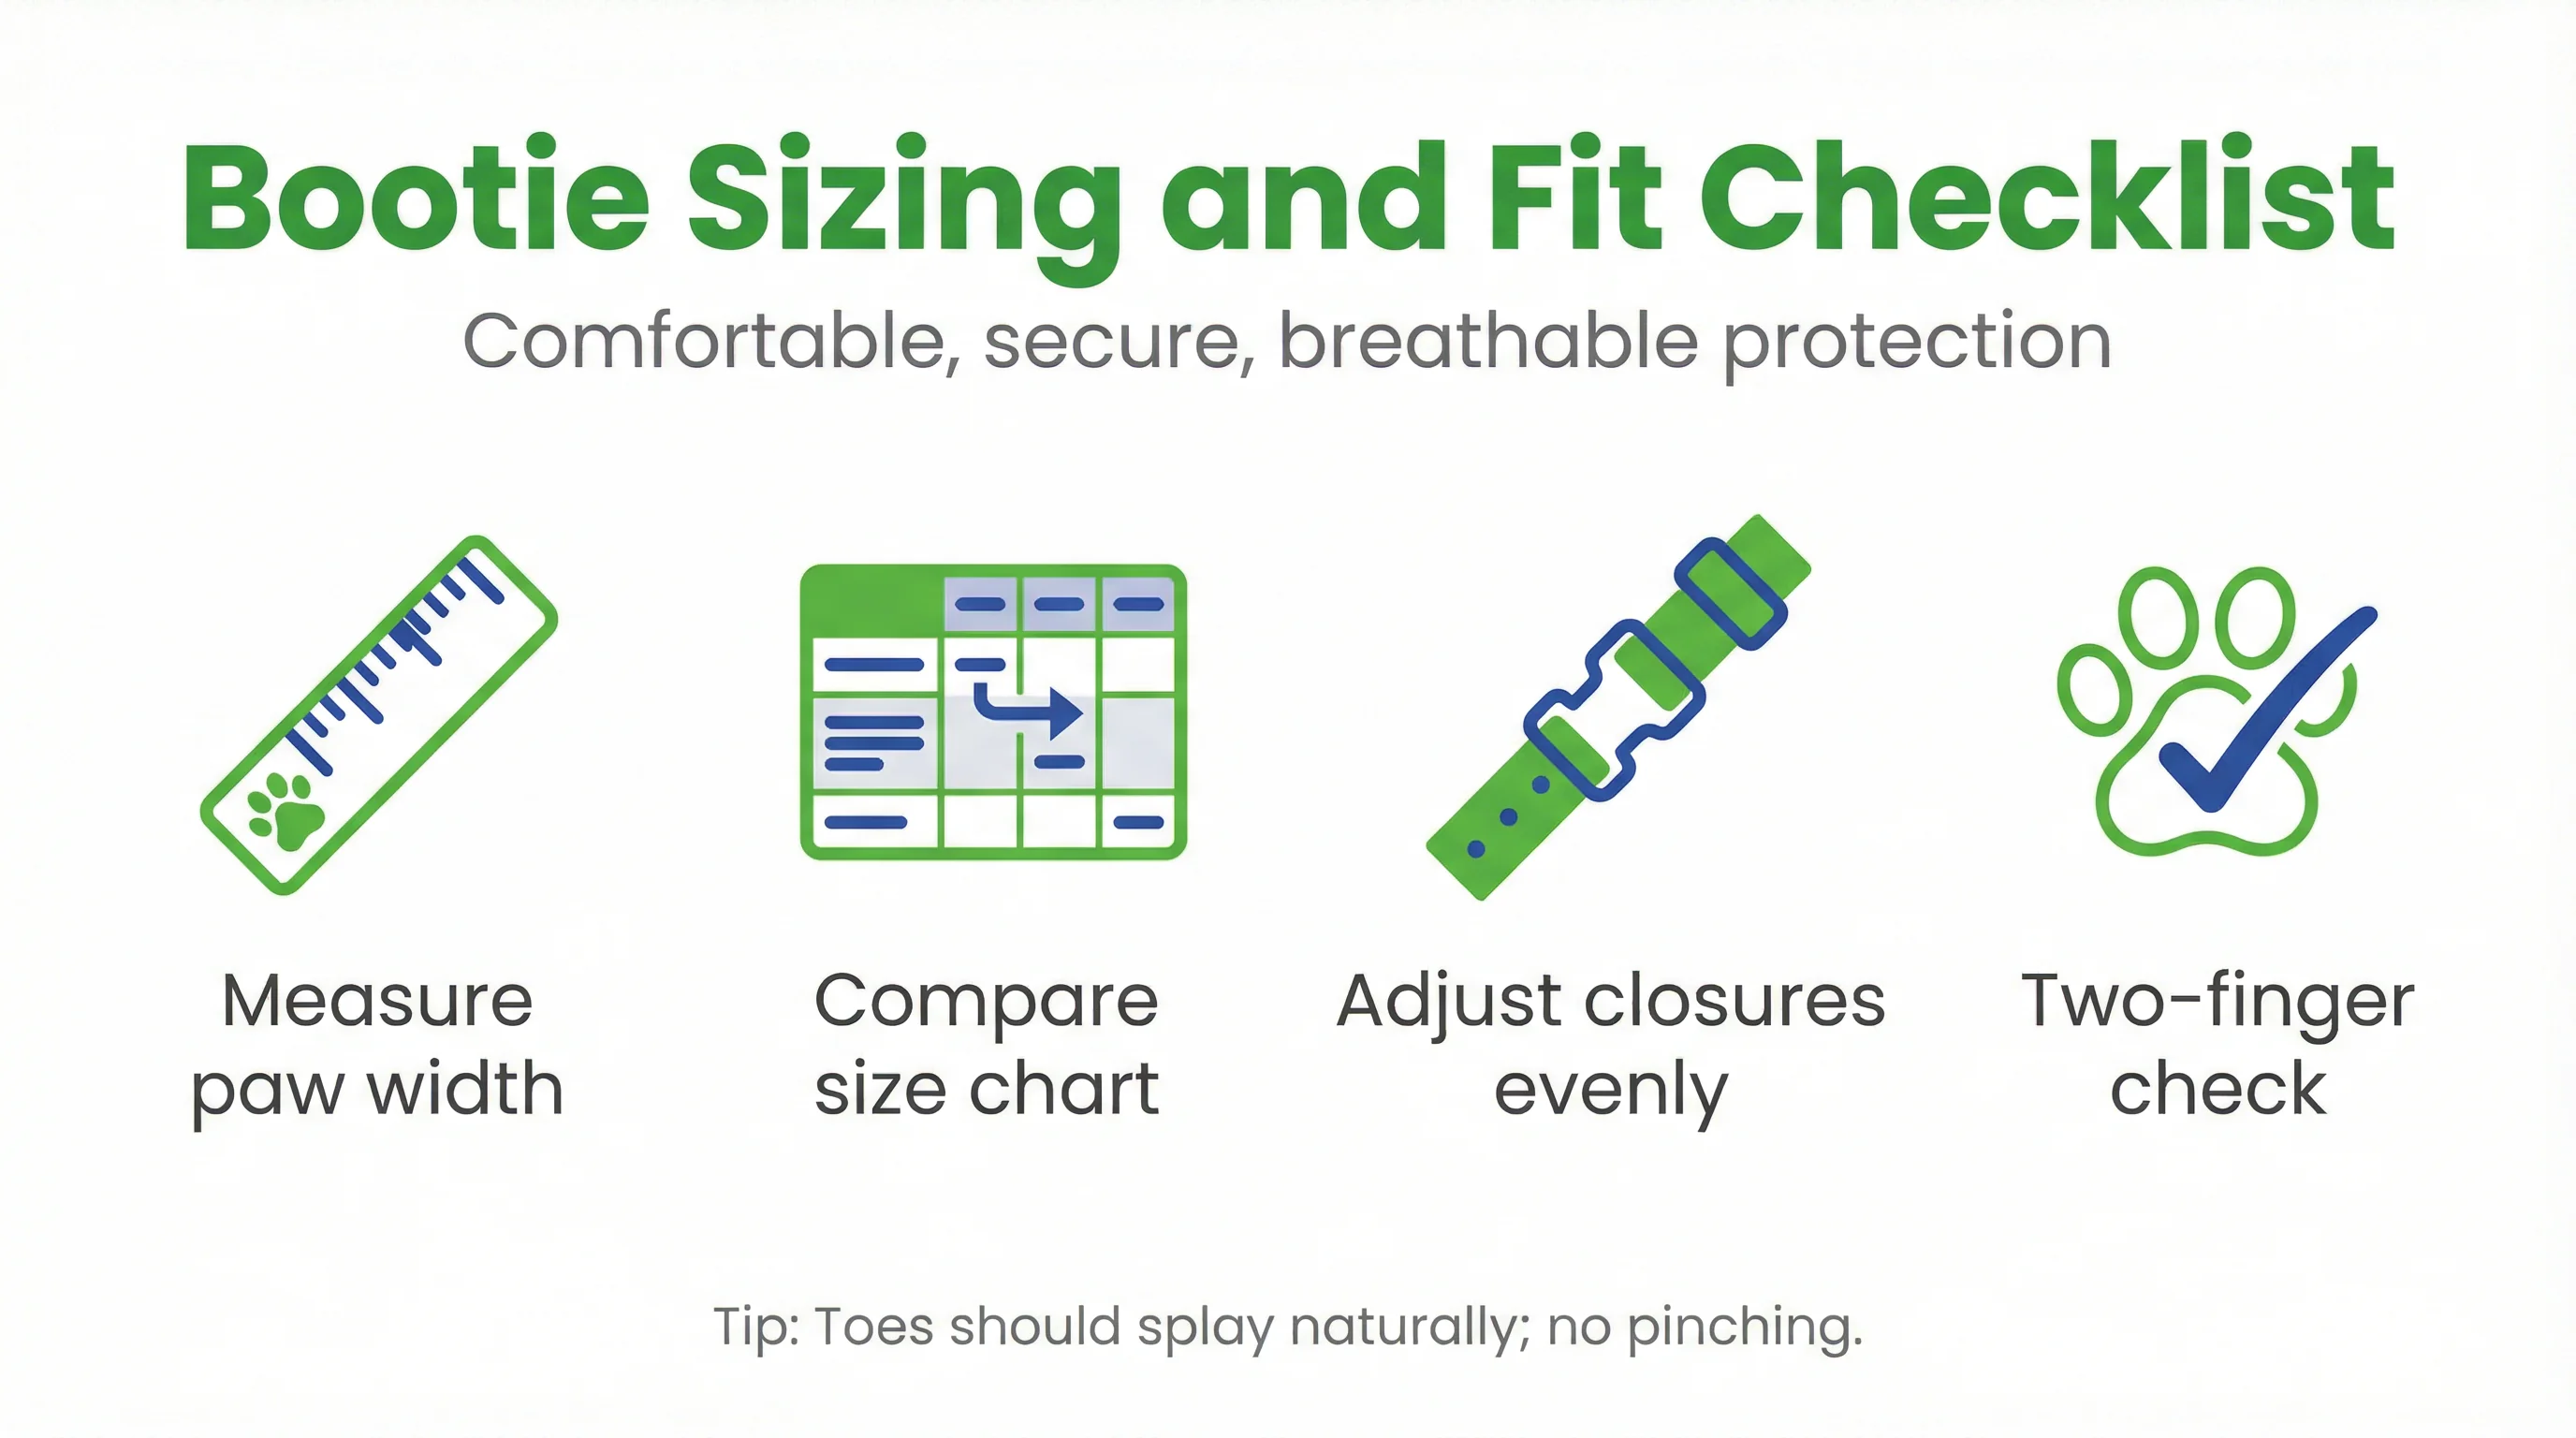
Fitting and Sizing: Secure, Breathable Protection
Correct sizing prevents pressure sores and slippage. Measure, fit test, and break in gear before long wear periods to protect healing tissue.
Measure, fit test, and break‑in tips
Measure weight-bearing paw width and length; compare to sizing charts. Fit the boot so toes spread naturally and closures seat above the carpal pad. Start with short wear trials, checking skin for hotspots. For sizing methods specific to medical dog booties, follow our measurement and break-in guidance.
Signs your wrap or boot is too tight or too loose
Watch for cool toes, swelling, or paw-pad blanching, which signal over-tightness. Excess rotation, toe splay, or boot twist indicate looseness. Use the two-finger rule under wraps and recheck fit after 10–15 minutes and brief activity.
Outdoor Hygiene: Short Walks, Clean Surfaces, and Weather Hazards
Brief, controlled outings support mental health and elimination needs, but only with clean surfaces and prompt decontamination. Plan routes and timing to minimize moisture and contaminants.
Using the outdoor paw protection guide to plan safe outings
Choose smooth, dry sidewalks, avoiding puddles, ice melt, and grit. Limit duration to your veterinarian’s recommendation and monitor gait. Align your routine with our outdoor paw protection guide for surface selection, weather adjustments, and paw-gear strategies during recovery.
Post‑walk decontamination to protect incisions
At the door, wipe the boot exterior to remove road film. Remove the boot indoors, then inspect the dressing. If any moisture penetrated, change layers promptly. Air the boot fully between uses to discourage odor and microbial buildup.
When to Call the Vet: Red Flags During Recovery
Early detection prevents setbacks. Observe the site and your dog’s behavior daily, keeping notes to spot trends or sudden changes.
Swelling, odor, discharge, and heat at the site
Signs of infection include increasing redness, heat, swelling, malodor, or purulent discharge. Any sudden bleeding or split sutures also warrant immediate contact. Structured postoperative monitoring and timely intervention improve outcomes and reduce complications.[1]
Behavioral changes that signal pain or infection
Watch for restlessness, trembling, guarding the limb, refusal to bear weight, reduced appetite, or sudden escalation in licking. These may indicate pain, adverse drug effects, or early infection. Call your veterinary team without delay.
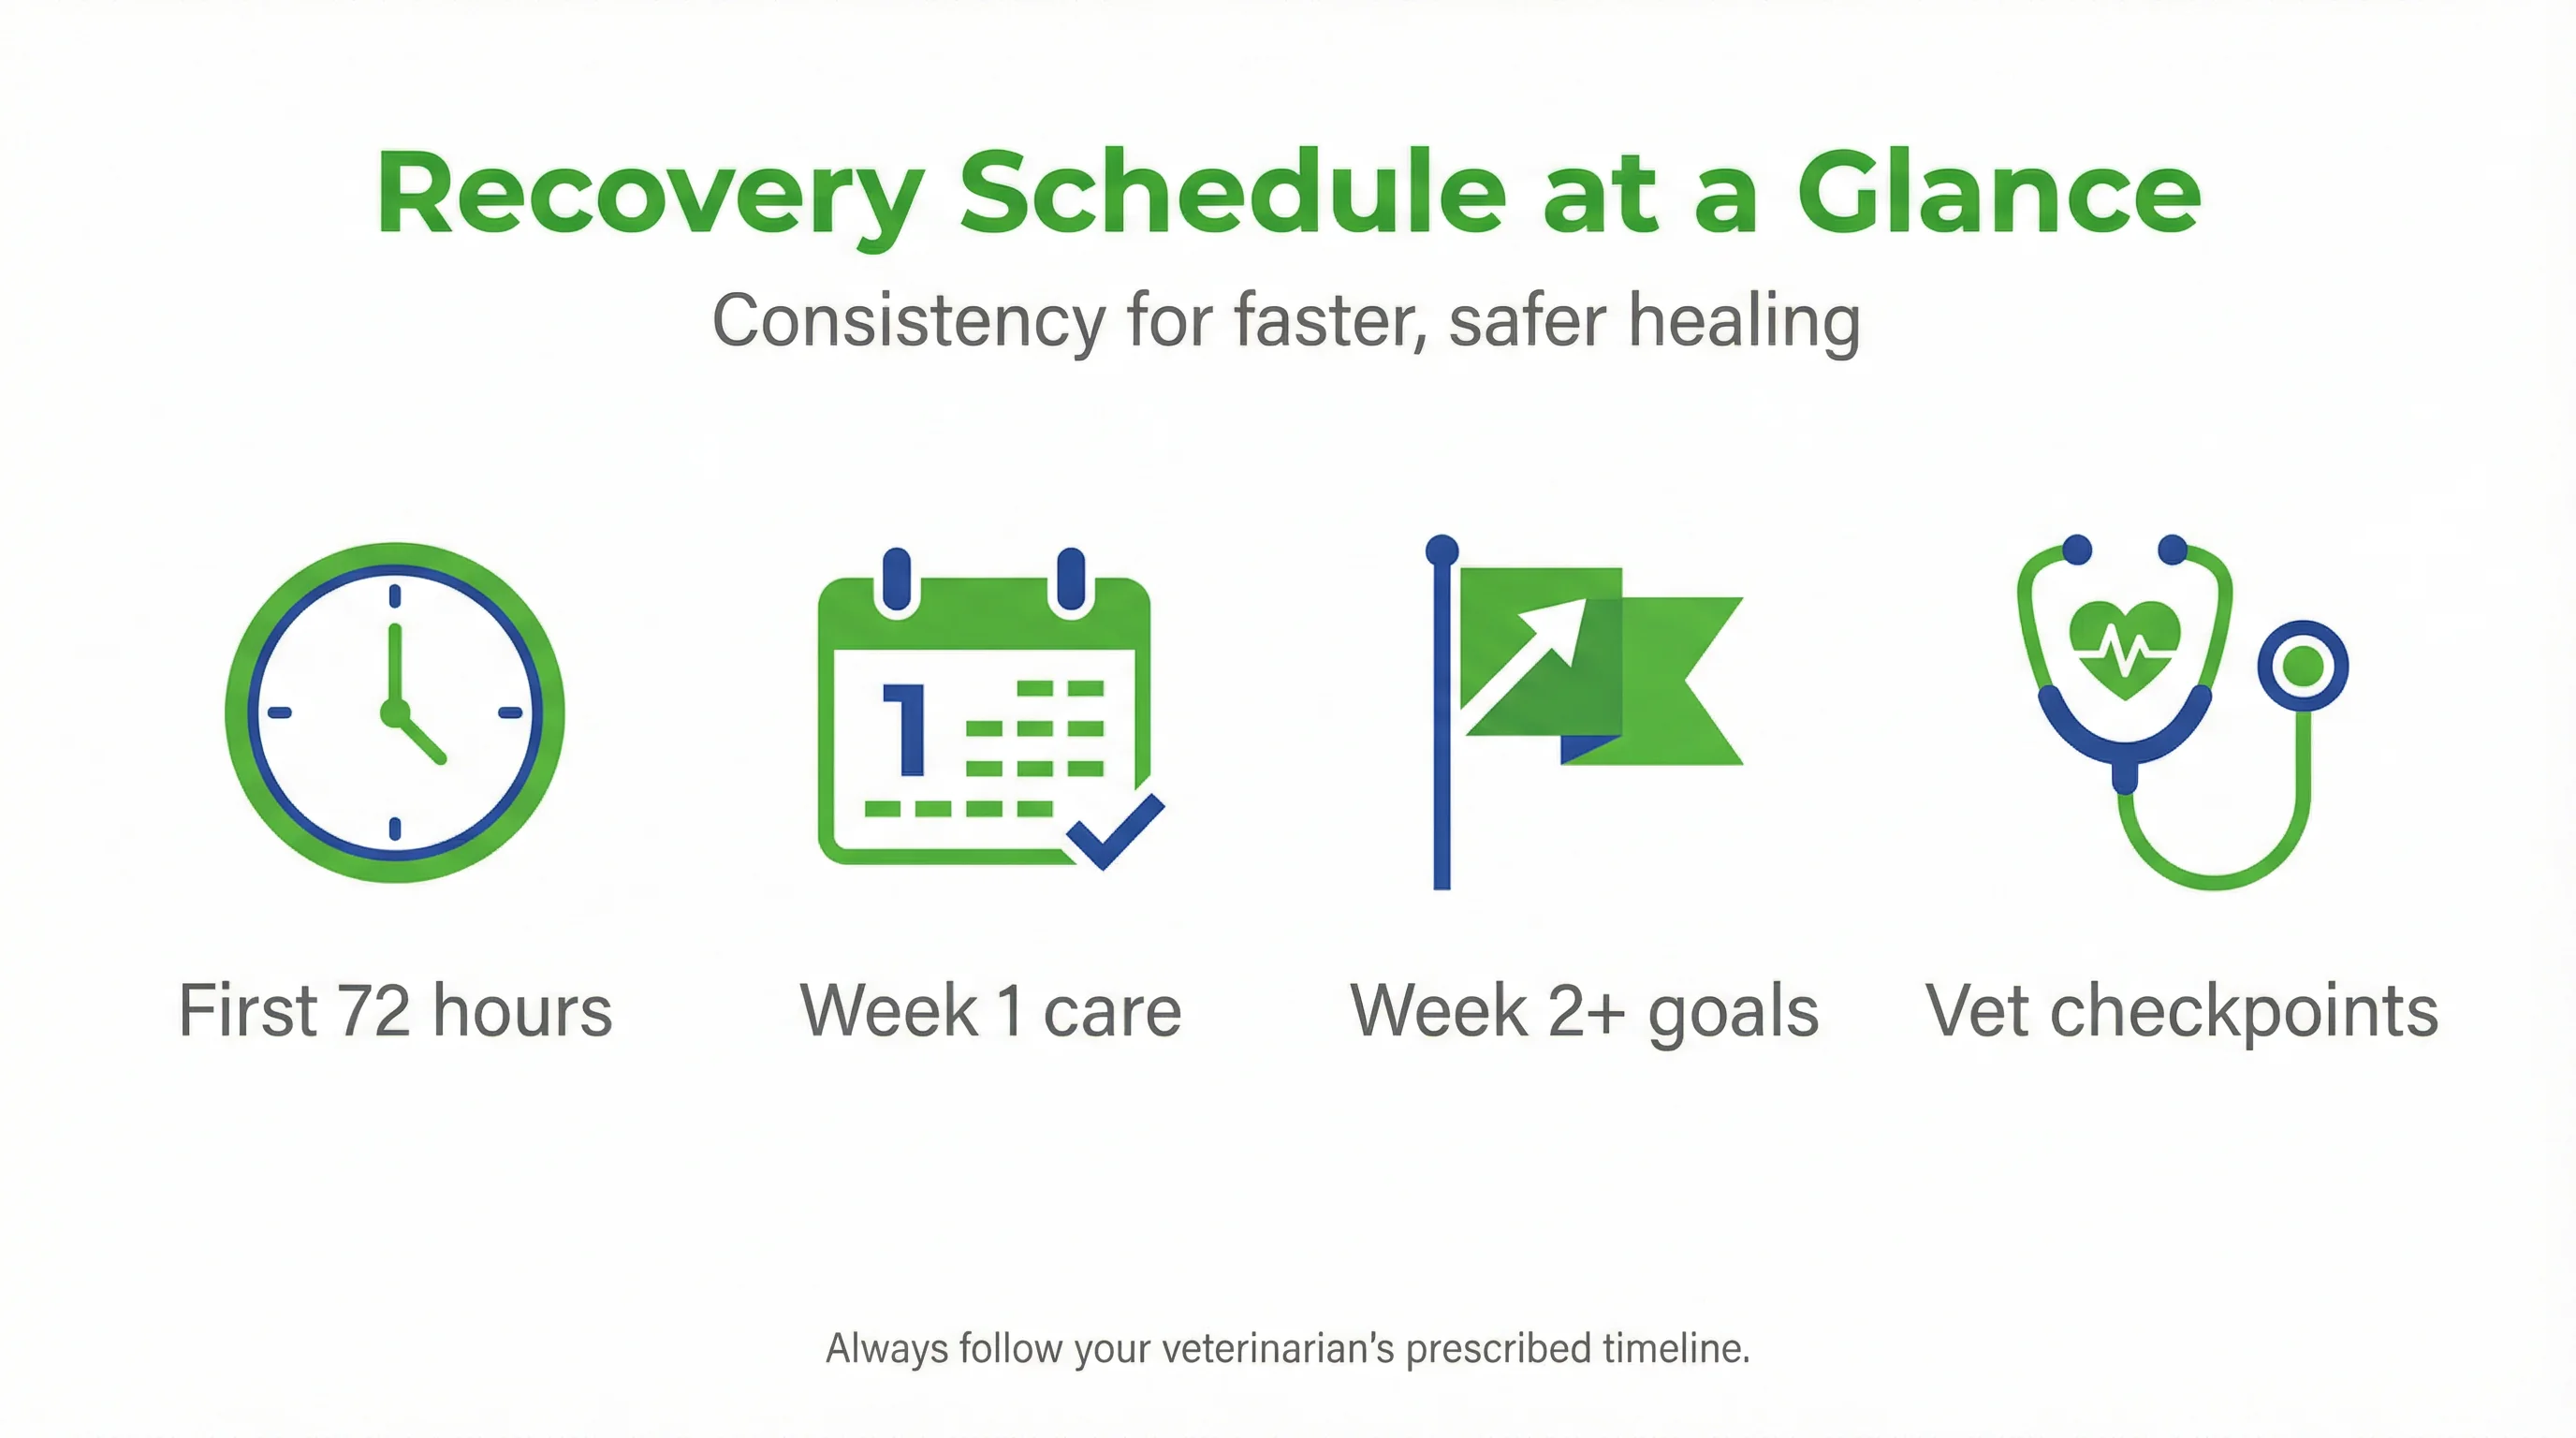
Care Schedule Templates: First 72 Hours, Week 1, Week 2+
Consistency makes protection easier. Use the following cadence to coordinate medication, dressing care, rest, and controlled activity with your veterinarian’s directions.
Medication timing, dressing change cadence, and rest windows
Administer analgesics and anti-inflammatories on time; set alarms to avoid gaps. Change damp or soiled dressings immediately; otherwise follow your vet’s schedule. Use frequent, short rest windows in a quiet room, maintaining a predictable routine to support healing.
Progress checks and easing back into activity
Reassess gait, incision appearance, and tolerance to handling every 24 hours. Gradually increase leash time as cleared, maintaining boot and wrap protection outdoors. If setbacks occur, revert to the previous successful level and consult your veterinary team.
| Phase | Goals | Key Actions |
|---|---|---|
| First 72 Hours | Control pain, protect site | On-time meds; dry dressings; brief potty breaks; anxiety wrap during rest |
| Week 1 | Prevent licking, manage swelling | Twice-daily checks; gentle range-of-motion if approved; short, clean-surface walks |
| Week 2+ | Staged return to function | Increase walk duration gradually; monitor for hotspots; continue protection outdoors |
Frequently Asked Questions
How long should my dog wear medical booties after surgery?
Most dogs need protective booties until the incision is fully closed and your vet clears outdoor walks without dressings—often 10–14 days. Inspect the site daily; remove booties indoors to air out if approved by your veterinarian.
Can elastic wraps cut off circulation to my dog’s leg?
Yes, if applied too tightly. Use light, even tension; you should fit two fingers under the wrap and see normal pink paw pads that don’t swell. Recheck fit after 10–15 minutes and after activity.
What’s the best way to keep bandages dry on short walks?
Use a breathable medical bootie sized to cover the dressing and seal debris out. After the walk, wipe the bootie exterior, remove it indoors, and replace any damp dressings promptly.
Do anxiety wraps really help prevent licking?
Gentle, consistent pressure can reduce arousal and licking in some dogs. Pair the wrap with environmental enrichment and manage itch triggers to improve results during recovery.
Is HOCl safe for cleaning paw wounds and incisions?
Veterinary‑grade hypochlorous (HOCl) solutions are non‑stinging and safe when used as directed. They help flush debris and reduce bioburden before re‑dressing; follow your vet’s protocol.
Conclusion
A calm, protected recovery is not complicated—it is consistent. Use breathable medical booties, thoughtful wrapping, and anxiety‑wrap support to keep dressings clean and behavior steady. Pair the routine with daily checks, short, clean-surface walks, and timely adjustments when conditions change. With precise care and early communication with your veterinarian, you give healing tissues every advantage and your dog a comfortable, confident return to activity.
References
- LX Alvarez et al. (2022). Systematic review of postoperative rehabilitation interventions after cranial cruciate ligament surgery in dogs. Veterinary …. View article
- WI Baltzer (2020). Rehabilitation of companion animals following orthopaedic surgery. New Zealand Veterinary Journal. View article
- BJ Carr et al. (2025). Best Practices in Physical Rehabilitation After Cranial Cruciate Ligament Injury in Dogs. … in Small Animal …. View article
- E Akaraphutiporn et al. (2024). Comparative analysis of post-operative rehabilitation approaches for medial patellar luxation in small-breed dogs. Veterinary …. View article


